Upgrade card list ::
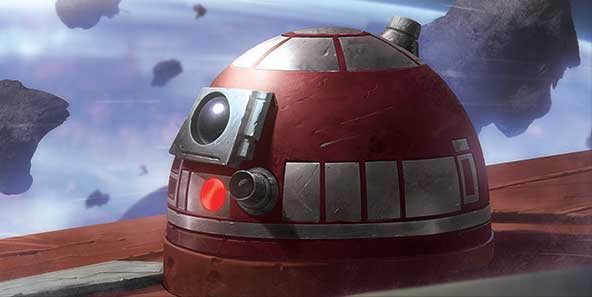
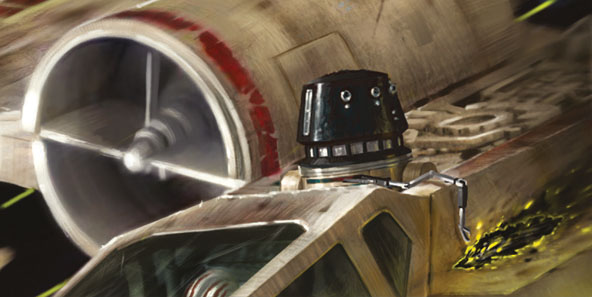
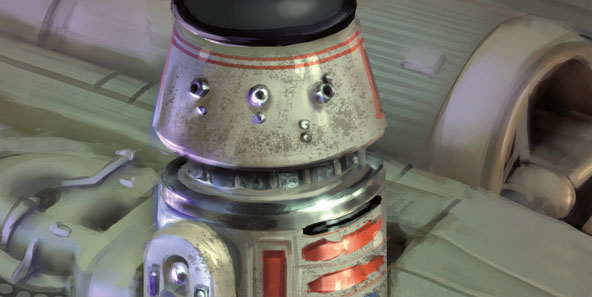
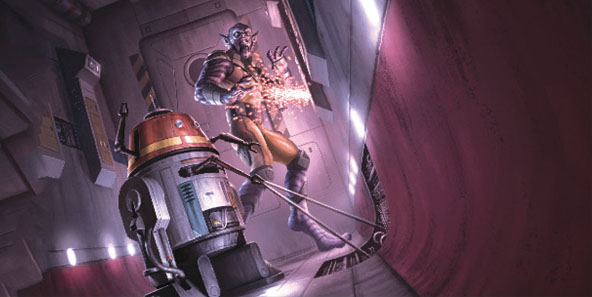
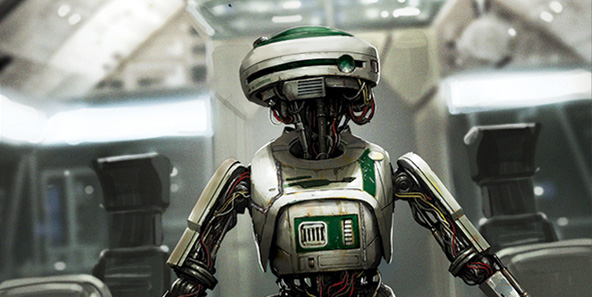
Open all sections - Close all sections- Astromech•C1-10PRepublic// 8
2
Setup: Equip this side faceup.
After you execute a maneuver, you may spend 1 to perform a red action, even while stressed.
During the End Phase, if this card has 0 active , flip it.
(Erratic)
After you execute a maneuver, you must choose a ship at range 0–1. It gains 1 jam token.Astromech - Cannon
- Cargo
- CommandBounty (Hired)Scum, Standard Ship, Limited// 1
(Hired)
Setup: Equip this side faceup.
You can be included in Separatist, Imperial, and First Order squads.
After you perform an attack, if the defender was a limited ship and was destroyed, you may recover 1 on your ship card and each of your upgrade cards. Then flip this card.
(Paid)
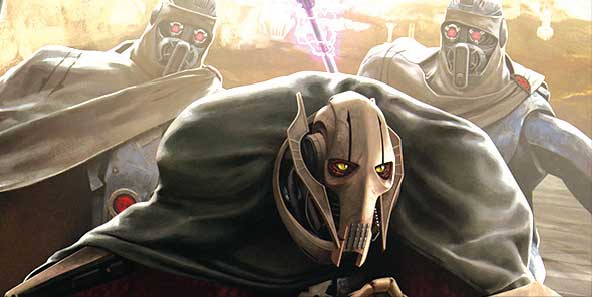
Bounty hunting is a complicated profession. Any assassin can kill, but the best hunters are renowned for their ability to bring a mark in alive, as doing so is more difficult but invariably commands a much greater reward.Command•General GrievousSeparatist, Huge Ship// 5
During the Engagement Phase, at initiative 4, you may spend 1 to perform a bonus attack.
You can perform attacks against friendly ships.
After you perform an attack, if the defender was destroyed, each friendly ship at range 0–2 of it may perform a action.Command CrewIn It For The MoneyScum, Standard Ship, Limited// 1
Setup: Equip this side faceup.
You can be included in Republic, Rebel, and Resistance squads.
After an allied limited ship in your squad is destroyed, gain 1 focus token and flip this card.
In It For The Money
Non-Scum ships in your squad are treated as friendly instead of allied.CommandJedi CommanderRepublic, Delta-7 Aethersprite or Eta-2 Actis// 4
Setup: Equip this side faceup.
You are a wing leader. Your wingmates must be 2–5 V-19 Torrents or 2–5 Nimbus-class V-wings.
After you are placed, flip this card.
While your wingmates execute purple maneuvers, they treat those maneuvers as red, instead.
While you defend, up to 2 of your wingmates in the attack arc may each suffer 1 / damage to cancel 1 matching result.Command•Mar TuukSeparatist, Huge Ship// 4
Setup: After placing forces, choose 1 friendly wing of ships with on their action bars and place that wing in reserve.
During the End Phase, you may place that wing within your deployment area or beyond range 2 of any enemy ship. Then you may choose 1 enemy ship at range 0–1 of you; each ship in that wing acquires a lock on it.Command Crew•Phoenix SquadronRebel, VCX-100// 4
Setup: Equip this side faceup.
You are a wing leader. Your wingmates must be 2–5 of the following:
0–1 Attack Shuttle
0–1 Sheathipede-class Shuttle
0–5 RZ-1 A-wings
After you are placed, flip this card.
At the start of the Planning Phase, 1 of your wingmates that is docked with you may join your wing without gaining a stress token.
While you or your Attack Shuttle wingmate or Sheathipede-class wingmate defends, up to 2 of your RZ-1 A-wing wingmates in the attack arc may each suffer 1 / damage to cancel 1 matching result.Command•Shadow WingImperial, TIE/ln Fighter or TIE/in Interceptor or TIE/sa Bomber// 4
Setup: Equip this side faceup.
You are a wing leader. Your wingmates must be 2–5 other ships of your type.
After you are placed, flip this card.
Your wingmates can perform or actions. If they do, they voluntarily split from the wing.
While you defend, up to 2 of your wingmates in the attack arc may each suffer 1 / damage to cancel 1 matching result.Command••Skystrike Academy ClassImperial, TIE/ln Fighter or TIE/in Interceptor// 3
Setup: Equip this side faceup.
You are a wing leader. Your wingmates must be 2–5 TIE/ln Fighters with initiative lower than yours.
After you are placed, flip this card.
After you barrel roll or boost, each of your wingmates is forced to split from the wing.
While you defend, up to 5 of your wingmates in the attack arc may each suffer 1 / damage to cancel 1 matching result.Command - ConfigurationDelta-7BDelta-7 Aethersprite//0:6,1:6,2:10,3:14,4:17,5:20,6:24
+1 -1 +2
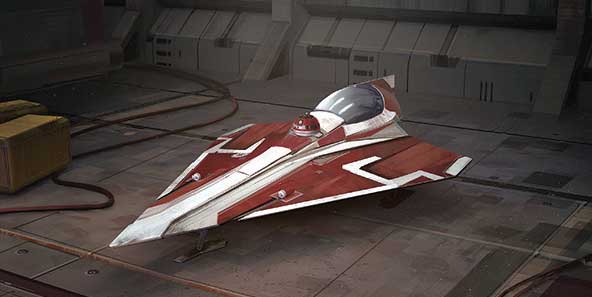
The Delta-7B was designed as a heavier variant of the Delta-7 Aethersprite-class Interceptor, identifiable by the repositioned astromech slot. Many Jedi Generals favor this craft’s greater firepower and durability.ConfigurationGrappling StrutsVulture-class droid fighter// 0
(Open)
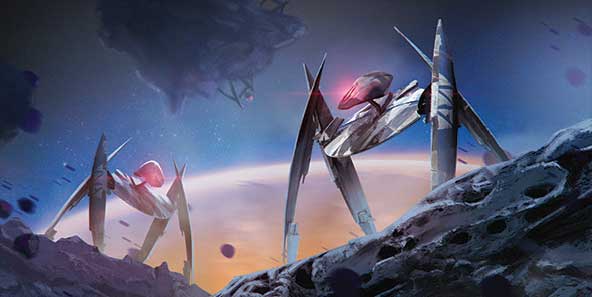
You ignore obstacles at range 0 and while you move through them. After you reveal your dial, if you reveal a maneuver other than a [2 ] and are at range 0 of an asteroid or debris cloud, skip your Execute Maneuver step and remove 1 stress token; if you revealed a right or left maneuver, rotate your ship 90º in that direction. After you execute a maneuver, flip this card.
(Closed)
Setup: Equip this side faceup.
While you execute a maneuver, if you overlap an asteroid or debris cloud and there are 1 or fewer other friendly ships at range 0 of that obstacle, you may flip this card.ConfigurationIntercept BoosterDroid Tri-Fighter// 1
(Attached)
2
Setup: Equip this side faceup.
During the System Phase, gain 1 disarm token unless you flip this card.
At the end of the End Phase, if you have no active , flip this card.
(Detached)
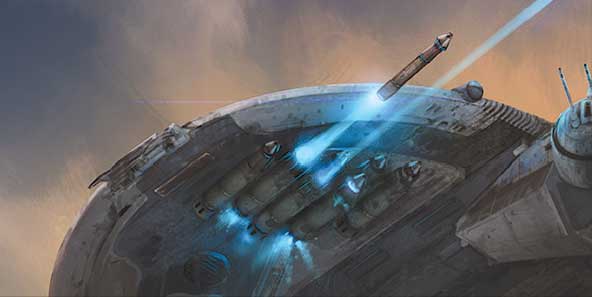
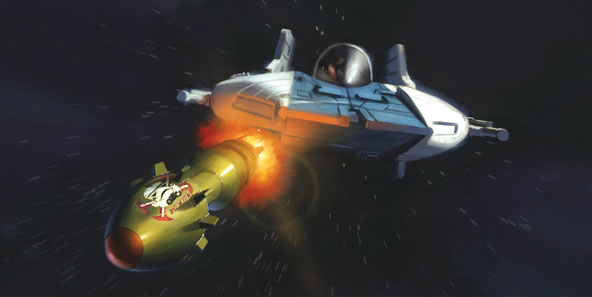
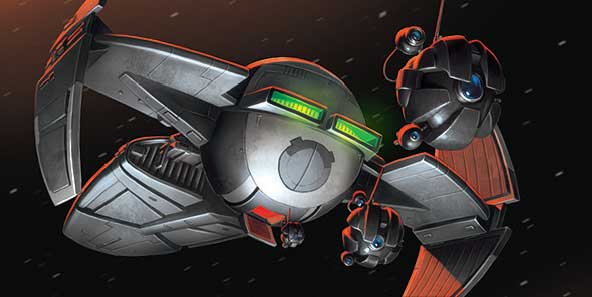
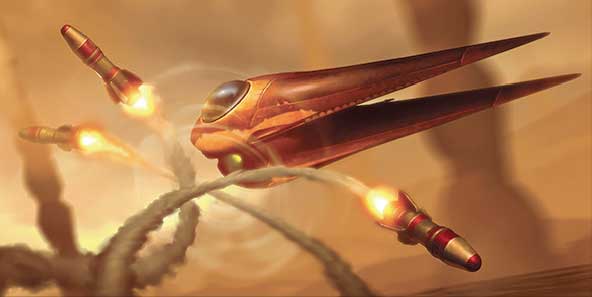
Unhindered by the frailty of an organic pilot, Droid Tri-Fighters are capable of radical acceleration and acute maneuvering. Fitted with booster rockets and fired from the missile tubes of Separatist capital ships, they can intercept hostiles well beyond the range of conventionally deployed starfighters.ConfigurationLanding StrutsHyena-class Droid Bomber// 0
(Closed)
Setup: Equip this side faceup.
While you execute a maneuver, if you overlap an asteroid or debris cloud and there are 1 or fewer other friendly ships at range 0 of that obstacle, you may flip this card.
(Open)
You ignore obstacles at range 0 and while you move through them. After you reveal your dial, if you reveal a maneuver other than a [2 ] and are at range 0 of an asteroid or debris cloud, skip your Execute Maneuver step and remove 1 stress token; if you revealed a right or left maneuver, rotate your ship 90° in that direction. After you execute a maneuver, flip this card.ConfigurationRepulsorlift StabilizersHMP Droid Gunship// 0
(Active)
Setup: Equip this side faceup.
Reduce the difficulty of your straight () maneuvers.
After you fully execute a maneuver, you may flip this card.
(Inactive)
After you reveal a bank ( or ) or turn ( or ) maneuver, you must perform that maneuver as a sideslip, then flip this card.
After you fully execute a non-sideslip maneuver, you may flip this card.ConfigurationStabilized S-FoilsA/SF-01 B-wing// 0
(Open)
After you perform an attack, you may spend your lock on the defender to perform a bonus attack against that ship using a upgrade you have not attacked with this turn.
Before you activate, if you are not critically damaged, you may flip this card.
(Closed)
Before you activate, if you are not critically damaged, you may flip this card.ConfigurationTIE Defender EliteImperial, TIE/D Defender, Standardized// 0
Decrease the difficulty of your turn [ or ] maneuvers. Increase the difficulty of your Koiogran Turn [] maneuvers. Replace your Full Throttle ship ability with the following:
Advanced Fire Control: After you perform a or attack, if you have a lock on the defender, you may perform a bonus primary attack against the defender.ConfigurationVectored Cannons (RZ-1)Vectored Thrusters, Standardized// 0
Gain a indicator. Treat the arc requirement of your primary attack as .
Replace your Vectored Thrusters ship ability with the following:
Vectored Cannons: During the System Phase, you may perform a red or red action. You can rotate your indicator only to your or .Configuration - Crew•Agent TerexFirst Order// 7
Setup: Equip this side faceup and place 3 calculate tokens on this card.
At the start of the Engagement Phase, you may choose a friendly ship at range 0–3 and remove 1 calculate token from this card to have that ship gain a matching token. Then, if there are no calculate tokens on this card, flip it.
(Cyborg)
During the System Phase, roll 1 attack die. On a or result, gain 1 calculate token. Otherwise gain 1 jam token.
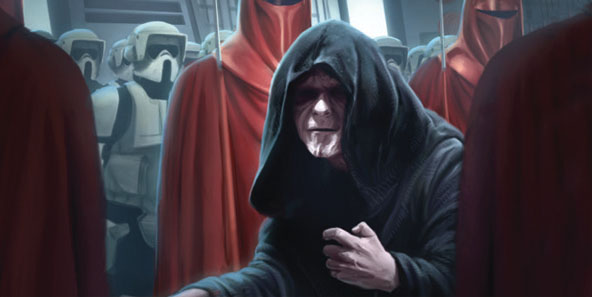
Action: Transfer 1 calculate token or 1 jam token to a ship at range 0–3.Crew•Chancellor PalpatineRepublic or Separatist// 14
(Chancellor Palpatine)
+1
Setup: Equip this side faceup.
After you defend, if the attacker is at range 0–2, you may spend 1 . If you do, the attacker gains 1 stress token.
During the End Phase, you may flip this card.
(Darth Sidious)
+1
After you perform a purple action, the ship you coordinated gains 1 stress token. Then, it gains 1 focus token or recovers 1 .Crew•Commander MalarusFirst Order// 6
Setup: Equip this side faceup.
While a friendly non-limited ship at range 0–1 performs a primary attack, that ship may reroll 1 blank result. If it does and the attack does not hit, you must flip this card.
(Perfected)
While you perform an attack, if the defender is in your , you must convert all results to results and gain 1 stress token. Then, if you have 2 or more stress tokens, suffer 1 damage.Crew•General GrievousSeparatist, Huge Ship// 5
During the Engagement Phase, at initiative 4, you may spend 1 to perform a bonus attack.
You can perform attacks against friendly ships.
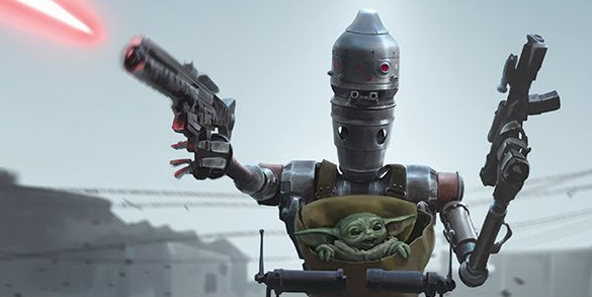
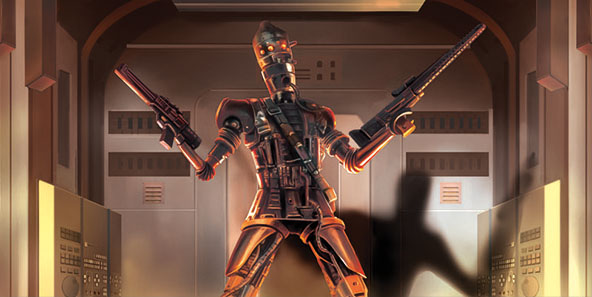
After you perform an attack, if the defender was destroyed, each friendly ship at range 0–2 of it may perform a action.Command Crew•IG-11Scum// 99
Setup: Equip this side faceup.
Before you would be dealt a faceup damage card, you must place 1 fuse marker on this card and gain 1 calculate token instead. Then, if there are 2 fuse markers on this card, flip it.
•IG-11 (Anti-Capture Protocole)During the End Phase, remove 1 fuse marker from this card. Then, if this card has no fuse markers on it, you are destroyed and each other ship at rane 0-1 suffers 1 damage.
Action: Place 1 fuse marker on this card.Crew•Mar TuukSeparatist, Huge Ship// 4
Setup: After placing forces, choose 1 friendly wing of ships with on their action bars and place that wing in reserve.
During the End Phase, you may place that wing within your deployment area or beyond range 2 of any enemy ship. Then you may choose 1 enemy ship at range 0–1 of you; each ship in that wing acquires a lock on it.Command Crew•Peli MottoScum, Medium or Large ship// 99
During the System Phase, you may perform an action on 1 of your damage cards, even while stressed.
After you repair a faceup Ship damage card, you may roll 1 attack die. On a result, repair another faceup Ship damage card. On a result, expose 1 damage card.Crew•Prime Minister AlmecRepublic or Scum// 99
Setup: Equip this side faceup.
After a friendly ship at range 0-2 reveals a white maneuver, if it has no green tokens, it may gain 1 stress token to gain 1 calculate token.
During the end phase, if you have 2 or more stress tokens, flip this card.
(Almec, Maul's Puppet)
After a friendly ship at range 0-2 reveals a red maneuver, that ship may perform a or action on its action bar, even while stressed.Crew - Force PowerPrecognitive ReflexesSmall ship//0:3,1:3,2:3,3:4,4:7,5:10,6:13
After you reveal your dial, you may spend 1 to perform a or action. Then, if you performed an action you do not have on your action bar, gain 1 strain token.
If you do, you cannot perform another action during your activation.Force Power - Gunner
- HardpointOrdnance TubesSetup: Equip this side faceup.// 1
You can perform and attacks only as bonus attacks. You must treat the requirement of your equipped and upgrades as .
Bonus Attack: Perform a attack.
Bonus Attack: Perform a attack.
Offline
You must treat the requirement of your equipped and upgrades as .
Action: Spend 2 to flip this card.Hardpoint - Hyperdrive
- Illicit•••Tracking FobBounty Hunter// 99
Setup: After placing forces, choose an opponent; they assign the Marked for Elimination condition to 1 of their ships. They must assign it to a limited ship, if able.
You ignore range restictions while acquiring locks on the ship withe the Marked for Elimination condition.Illicit - Missile
- ModificationAngled DeflectorsSmall or medium ship, Shield value of 1 or more.//0:6,1:3,2:1,3:1
-1
Starfighter shields often have manual overrides that allow them to be angled for increased front or rear protection. However, doing so leaves the ship exposed if the pilot’s situational awareness falters.ModificationIndependent CalculationsNetworked Calculations, Standardized// 0
Replace your Networked Calculations ship ability with the following:
Independent Calculations: While you perform a white action, you may treat it as red to gain 1 additional calculate token. Other ships cannot spend your calculate tokens using the Networked Calculations ship ability.ModificationSynchronized ConsoleRepublic,// 1
After you perform an attack, you may choose a friendly ship at range 1 or a friendly ship with the Synchronized Console upgrade at range 1–3 and spend a lock you have on the defender. If you do, the friendly ship you chose may acquire a lock on the defender.Modification - Obstacle
- PayloadBomblet Generator2// 2
Bomb
During the System Phase, you may spend 1 to drop a Bomblet with the [1 ] template.
At the start of the Activation Phase, you may spend 1 shield to recover 2 .
Types: Device, Bomb
At the end of the Activation Phase, this device detonates.
When this device detonates, each ship and remote at range 0–1 rolls 2 attack dice. Each ship or remote suffers 1 damage for each / result.PayloadCluster Mines1// 7
Mine
During the System Phase, you may spend 1 to drop a Cluster Mine set using the [1 ] template.
This card’s cannot be recovered.
Types: Device, Mine
A Cluster Mine Set consists of 3 individual Cluster Mine devices.
When a Cluster Mines set is placed, the center Cluster Mine is placed as normal, then two additional Cluster Mines are placed in the recesses as shown.
After a ship overlaps or moves through any individual Cluster Mine, it detonates. Other Cluster Mines in the set that were not overlapped or moved through do not detonate.
When each of these devices detonates, that ship rolls 2 attack dice. That ship then suffers 1 / damage for each matching result.PayloadConner Nets1// 3
Mine
During the System Phase, you may spend 1 to drop a Conner Net with the [1 ] template.
This card’s cannot be recovered.
Types: Device, Mine
After a ship overlaps or moves through this device, it detonates.
When this device detonates, the ship suffers 1 damage and gains 3 ion tokens.PayloadIon Bombs2// 4
Bomb
During the System Phase, you may spend 1 to drop an Ion Bomb using the [1 ] template.
Types: Device, Bomb
At the end of the Activation Phase, this device detonates.
When this device detonates, each ship at range 0–1 gains 3 ion tokens, and each remote at range 0–1 suffers 1 damage.PayloadProximity Mines2// 6
Mine
During the System Phase, you may spend 1 to drop a Proximity Mine with the [1 ] template.
This card’s cannot be recovered.
Types: Device, Mine
After a ship overlaps or moves through this device, it detonates.
When this device detonates, that ship rolls 2 attack dice. That ship then suffers 1 damage plus 1 / damage for each matching result.PayloadSeismic Charges2// 3
Bomb
During the System Phase, you may spend 1 to drop a Seismic Charge with the [1 ] template.
Types: Device, Bomb
At the end of the Activation Phase, this device detonates.
When this device detonates, choose 1 obstacle at range 0–1. Each ship and remote at range 0–1 of the obstacle suffers 1 damage. Then remove that obstacle.Payload - Sensor
- Tactical Relay
- TalentProud TraditionFirst Order// 2
Setup: Equip this side faceup.
While you have 2 or fewer stress tokens, you may perform actions even while stressed.
After you perform an attack, if you are stressed, the defender may spend 1 focus token or suffer 1 damage to flip this card.
False Tradition
Treat your actions as red.Talent - TeamTractor TechniciansDuring the End Phase, each other ship at range 0–1 cannot remove its tractor tokens.// 2
Before a tractored enemy ship at range 0–1 reveals its dial, you may spend 1 . If you do, while that ship executes its maneuver this activation, it reduces the speed of that maneuver by 1, to a minimum of 1.Team - TechAutomated Target PriorityInitiative 3 or lower// 1
While you perform an attack, you must choose a defender at the closest valid attack range.
After you perform an attack that missed, place 1 calculate token on this card.
Before you engage, you may remove 1 calculate token from this card to gain a matching token.TechSensor ScramblersTIE/wi Whisper or TIE/vn Silencer// 1
Setup: Gain 1 cloak token.
While you are cloaked, other ships cannot acquire locks on you.
During the End Phase, if you are cloaked and there is an enemy ship at range 0-3, you must decloak. If you do and that decloak fails, lose 1 cloak token.Tech - Title
- Torpedo•Tracking TorpedoesHuge Ship// 8
3
During the System Phase, you may spend up to 3 to launch that many tracking torpedoes using the [ 3], [ 4], and [ 3] templates. Each device must use a separate template. Then each device may acquire a lock on an object you have locked, ignoring range restrictions.Torpedo - Turret

